My SMWF 0.5 water flow sensor started leaking, so I decided to fix it myself. I followed a simple guide, replaced the worn seals, and the leak was gone! It was much easier than I thought, and now everything works perfectly.
Repairing a leaking SMWF 0.5 water flow sensor means fixing any parts that are causing water to leak. This could involve replacing worn seals, fixing cracks, or cleaning out debris. The goal is to stop the leak and get the sensor working correctly again.
Stop wasting water and money! Discover how you can repair your leaking SMWF 0.5 sensor yourself with just a few easy steps.
Understanding the SMWF 0.5 Water Flow Sensor – Get Familiar!
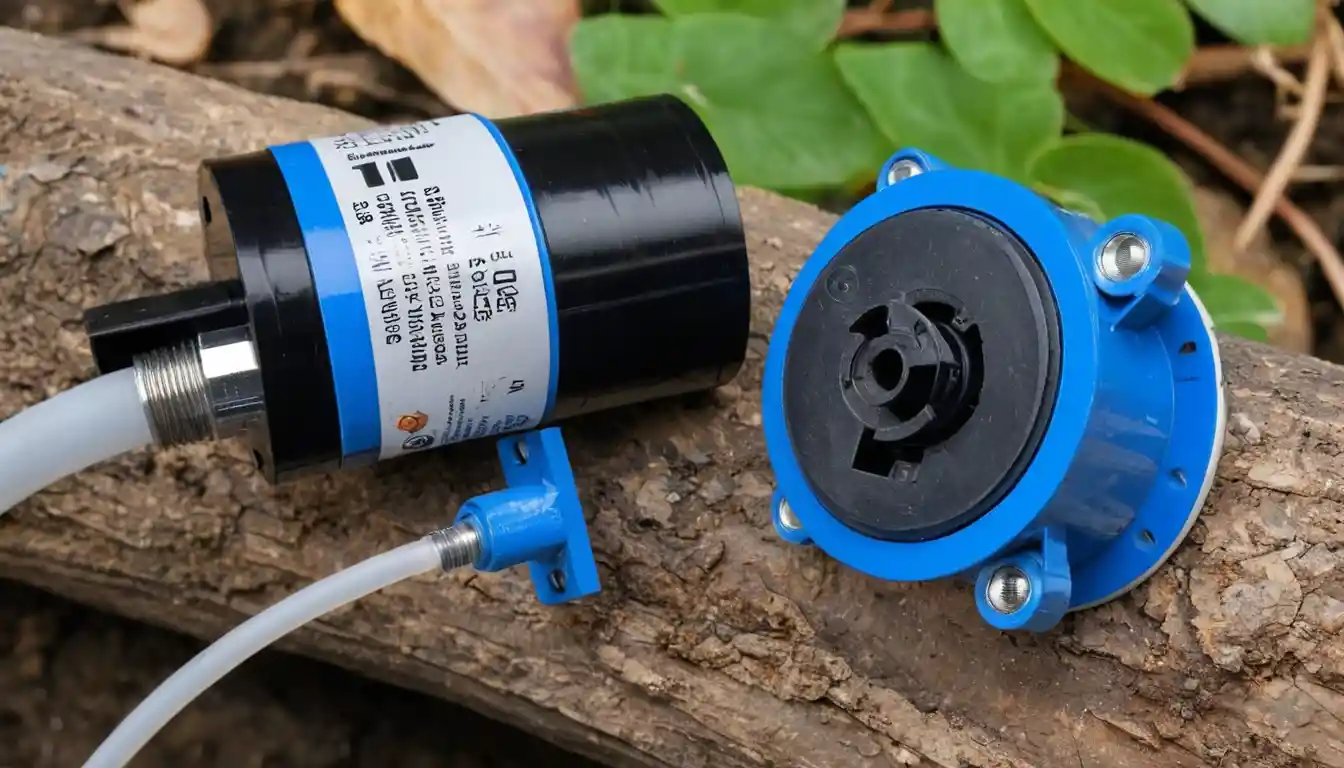
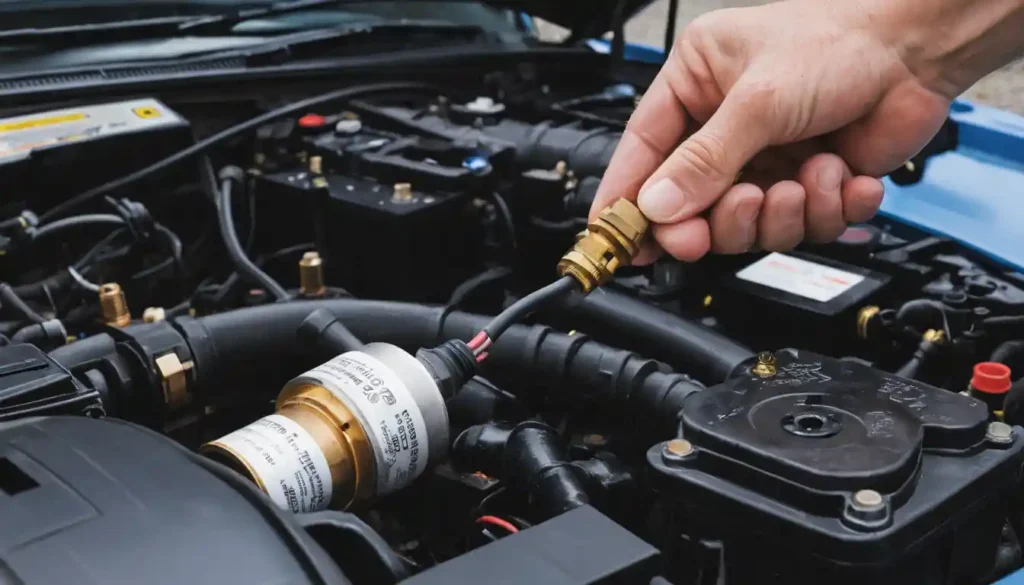
The SMWF 0.5 water flow sensor is a small, reliable device used to measure the flow of water in systems like irrigation, home appliances, and industrial setups. It works by using a rotor and magnet to generate signals based on the water flow, providing accurate readings for monitoring.
Over time, the sensor may develop issues like leaks due to wear, poor installation, or environmental factors. Understanding how the sensor works helps you identify problems early and make repairs, ensuring it continues to function properly and efficiently.
Read Also: Alexis Tomacruz Missing Paris – Help Find Her Now!
Common Signs of a Leaking SMWF 0.5 Sensor – Spot Leaks Early!
If you suspect your SMWF 0.5 water flow sensor is leaking, look out for these common signs that indicate a problem:
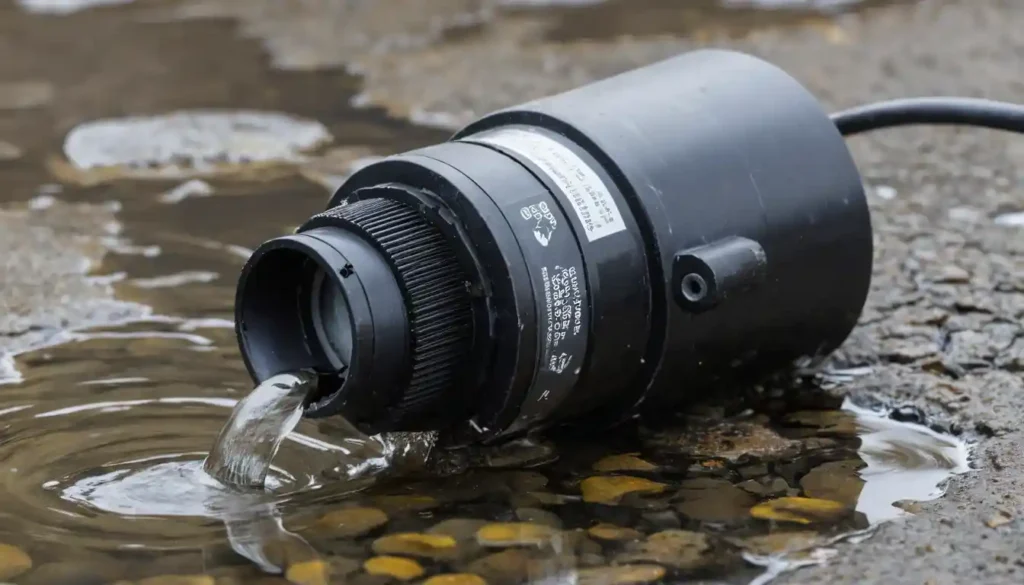
- Water Pooling Around the Sensor: If you notice water collecting near the sensor, it’s a clear indication that there’s a leak somewhere in the system.
- Inaccurate Flow Readings: A leaking sensor can cause irregular or incorrect readings, leading to improper water flow measurements.
- Decreased Water Pressure: Leaks often result in a drop in water pressure, as water escapes before it reaches the intended system.
- Visible Cracks or Damage: If you spot cracks or damage on the sensor’s housing or seals, it’s a sign that water could be leaking through those areas.
- Strange Noises: Unusual sounds, such as hissing or dripping, around the sensor may indicate that water is escaping from a faulty seal or crack.
Can I repair a leaking water flow sensor on my own? – Assess DIY Feasibility!
Yes, you can repair a leaking water flow sensor on your own, especially if the issue is small. Tasks like replacing damaged seals, cleaning debris, or fixing minor cracks are often simple to do with the right tools. However, if the damage is more serious or you’re unsure about the repair, it’s better to call a professional. Taking care of small issues early can save you time and money in the long run.
What tools do I need to repair an SMWF 0.5 water flow sensor? – Prepare Tools!
To repair an SMWF 0.5 water flow sensor, you’ll need a few basic tools:
- Screwdrivers – To remove screws and disassemble the sensor.
- Adjustable Wrench – For loosening or tightening any fittings.
- Soft Brush – To clean debris or buildup inside the sensor.
- Replacement Seals – To replace worn or damaged seals.
- Epoxy Resin – If there are cracks in the housing, to seal them.
- Teflon Tape – To ensure a tight, leak-proof connection when reassembling.
Having these tools on hand will make the repair process smoother and more efficient.
Step-by-Step Guide to Repair Leaking Water Flow Sensor SMWF 0.5 – Follow Instructions!
- Turn Off the Water Supply: Before starting the repair, shut off the water supply to prevent any leaks or accidents while working on the sensor.
- Inspect the Sensor and Connections: Carefully examine the sensor housing, seals, and connections for any visible cracks, damage, or loose fittings. Look for any signs of water leakage around these areas.
- Disassemble the Sensor: Use a screwdriver to remove screws and disconnect the sensor from the water system. Be careful not to damage any threads or electrical connections.
- Clean the Internal Components: Use a soft brush to gently clean any debris, sediment, or buildup inside the sensor. Cleaning can help fix minor issues caused by blockages or pressure imbalances.
- Replace Worn or Damaged Seals: If the seals look cracked or worn out, replace them with new, high-quality seals. This is a crucial step in ensuring a proper seal to stop leaks.
- Check for Cracks in the Housing: Inspect the sensor’s housing for any visible cracks or damage. If you find any, use epoxy resin to seal the cracks or consider replacing the housing entirely.
- Reassemble the Sensor: Once all repairs are done, carefully reassemble the sensor and tighten all connections using an adjustable wrench. Make sure everything is securely fitted.
- Test the Sensor: Turn the water supply back on slowly and check the sensor for any signs of leakage. Ensure that the sensor is functioning correctly and that there are no leaks around the seals or connections.
- Monitor for Future Leaks: After the repair, keep an eye on the sensor for a few days to ensure it’s working as expected and no leaks reoccur.
This step-by-step process should help you repair your leaking SMWF 0.5 sensor and restore proper water flow functionality!
Common Mistakes to Avoid When Repairing the SMWF 0.5 Sensor – Avoid Errors!
Ignoring the Source of the Leak
Sometimes, leaks may seem to disappear after a quick fix, but the real cause might be overlooked. Always inspect the sensor thoroughly to identify the true source of the problem, such as worn seals or cracked housing.
Using Incorrect or Low-Quality Replacement Parts
Avoid using universal seals or parts that don’t match the SMWF 0.5 specifications. Using the wrong parts can lead to future leaks or poor sensor performance. Always use manufacturer-recommended parts.
Overtightening Connections
While it’s important to secure fittings, overtightening can cause damage to threads or cracks in the housing. Tighten parts just enough to create a secure, leak-free seal without applying excessive force.
Not Cleaning the Sensor Properly
If you don’t clean the internal components, debris and sediment can remain inside, affecting the sensor’s accuracy and causing blockages. Make sure to clean thoroughly using a soft brush.
Skipping Testing After Repair
After completing the repair, always test the sensor to ensure it’s functioning correctly. Skipping this step can lead to undetected leaks or improper readings that might cause future issues.
By avoiding these common mistakes, you can ensure a more successful and lasting repair for your SMWF 0.5 sensor.
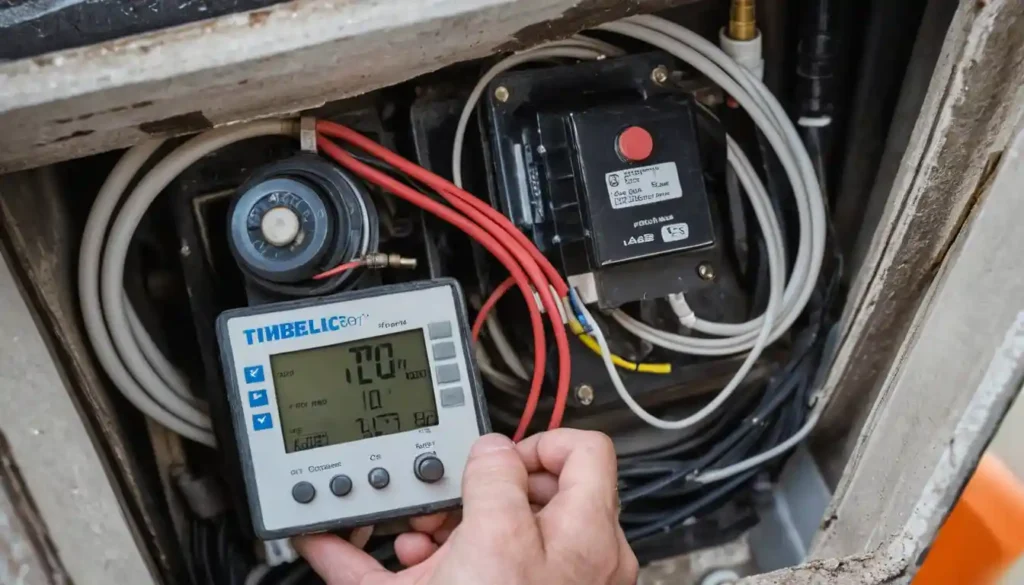
Advanced Troubleshooting Techniques – Troubleshoot Effectively!
- Check Electrical Components: Use a multimeter to test for voltage irregularities or damaged wires.
- Inspect Rotor Mechanism: Look for blockages or wear on the rotor that might affect performance.
- Monitor Pressure: Use a pressure gauge to check if water pressure is within the sensor’s specified range.
- Test for Leaks Under Pressure: Run water through the system and check for leaks under normal operating pressure.
- Examine Water Quality: Test mineral content and pH levels; use softeners or filters if necessary.
- Perform Full System Calibration: Recalibrate the sensor after repairs to ensure accurate flow readings.
- Refer to Manufacturer’s Manual: Consult the manual for specific troubleshooting steps or issues.
How long does it take to repair a leaking water flow sensor? – Estimate Time!
Repairing a leaking water flow sensor usually takes about 1 to 2 hours, depending on how serious the issue is. If it’s just a small problem like replacing seals or cleaning debris, the repair can be done quickly. You’ll need basic tools and replacement parts for these fixes.
However, if the damage is more complex, such as cracks in the housing or electrical issues, it may take longer to fix. In these cases, it’s important to be careful and take your time to ensure the sensor is properly repaired and working well.
What should I do if my SMWF 0.5 sensor continues to leak after repair? – Fix Persistent Leaks!
- Double-check the seals and connections: Ensure all seals are properly placed and connections are tight. Sometimes, even a small gap can cause leaks.
- Inspect for hidden cracks or damage: If the housing or internal parts have cracks, it may still leak. Look for undetected cracks that might require a more thorough repair or replacement of the housing.
- Verify the water pressure: High water pressure can cause leaks even after repairs. Use a pressure gauge to make sure it’s within the sensor’s recommended range.
- Consult a professional: If the leak persists despite these steps, it might be time to consult an expert for further diagnosis and repair.
Read Also: Vercel Games And Stuff – Your Next Favorite Platform!
How to Test Your SMWF 0.5 Sensor After Repair – Test Sensor!
After repairing your SMWF 0.5 sensor, reassemble all parts and tighten the connections. Slowly turn on the water supply to avoid sudden pressure changes that could damage the sensor. Check the sensor and surrounding area for any visible leaks.
Next, verify the flow readings by comparing them with expected values or using a flow meter. Ensure that the sensor is providing accurate measurements. Monitor the sensor for a few days to ensure the leak does not return or cause any further issues.
Is it better to repair or replace a leaking SMWF 0.5 sensor? – Weigh Options!
If the damage to your SMWF 0.5 sensor is minor, like worn seals or dirt buildup, it’s usually better to repair it, as it’s quicker and more affordable. However, if the sensor has cracks or internal damage, replacing it might be the better option for long-term reliability. A new sensor will prevent future issues and ensure accurate readings. Always assess the damage before deciding whether to repair or replace.
What are the cost differences between DIY repair and professional repair for an SMWF 0.5 sensor?
Here’s a breakdown of the various repair types for the SMWF 0.5 sensor, including cost estimates and details for each option:
| Repair Type | Cost Range | Details |
| DIY Repair | $10 – $50 | Cost mainly for parts like seals, epoxy, and cleaning tools. |
| Professional Repair | $100 – $300 | Includes labor and parts; higher cost for complex issues. |
| Sensor Replacement | $50 – $150 | Replacing the entire sensor; includes the cost of the new sensor. |
| Partial Component Repair | $50 – $100 | Repairing specific components (e.g., rotor or wiring) instead of the entire unit. |
| Advanced Electrical Repair | $150 – $350 | Involves fixing electrical issues, such as damaged wires or sensors requiring calibration. |
| Seal and Housing Replacement | $40 – $80 | Replacing worn-out seals or sensor housing to prevent leaks. |
How often should I inspect my SMWF 0.5 sensor for leaks? – Schedule Inspections!
You should inspect your SMWF 0.5 sensor for leaks at least once every 3 to 6 months. However, if the sensor is exposed to harsh conditions or high water pressure, it’s a good idea to check it more frequently, such as every 1 to 2 months, to catch any potential issues early. Regular inspections help prevent long-term damage and maintain the sensor’s performance.
Can I use universal seals and parts for the SMWF 0.5 sensor? – Check Compatibility!
It’s best to avoid using universal seals and parts for the SMWF 0.5 sensor. While they might fit, they often don’t offer the same level of quality and durability as the original parts made specifically for the sensor. This can lead to poor performance and potential issues down the line.
Using manufacturer-recommended parts ensures a proper fit, better performance, and helps prevent future leaks. It might cost a little more, but it’s worth it for the long-term reliability of the SMWF 0.5 sensor.
How to Prevent Leaks in Your SMWF 0.5 Sensor – Prevent Leaks!
- Regular Maintenance: Clean the sensor regularly and check for wear on seals and components. This helps identify potential issues before they cause leaks.
- Proper Installation: Always follow the manufacturer’s instructions when installing the sensor. Ensure that all parts are tightly secured and there is no excessive force applied.
- Use Quality Parts: When replacing components, use high-quality, manufacturer-approved seals and parts to maintain the sensor’s integrity and prevent leaks.
- Monitor Water Pressure: Ensure that the water pressure is within the recommended range for the sensor. High pressure can damage seals and cause leaks.
- Protect from Extreme Conditions: Avoid exposing the sensor to extreme temperatures or harsh chemicals, as these can weaken seals and other components over time.
Importance of Proper Installation to Avoid Leaks – Install Properly!
Proper installation is essential to avoid leaks in the SMWF 0.5 sensor. If parts like seals or connectors aren’t fitted correctly, water can escape and cause damage. A secure installation helps maintain accurate readings and prevents future issues.
Always follow the manufacturer’s guidelines to ensure all components are properly aligned and tightened. Excessive force or improper sealing can cause cracks and leaks. Proper installation will help extend the life of your sensor and keep it working reliably.
Frequently Asked Questions:
How do I identify the source of the leak in the SMWF 0.5 sensor?
Check for cracks, damaged seals, or loose connections around the sensor to pinpoint where the leak is occurring.
Can temperature changes cause my SMWF 0.5 sensor to leak?
Yes, extreme temperature fluctuations can cause the sensor’s materials to expand or contract, leading to seal failure or cracks.
What should I do if I don’t have the manufacturer’s replacement parts?
Always try to use genuine parts. If unavailable, consider high-quality alternatives that match the exact specifications to avoid future issues.
Can clogged parts inside the SMWF 0.5 sensor lead to leaks?
Yes, clogs from dirt or mineral buildup can create pressure differences, which can damage seals and lead to leaks.
What is a water flow sensor?
A water flow sensor detects the flow of water through pipes or systems. It measures the rate of flow and sends data to control devices, ensuring the system operates efficiently.
Why is my Kenmore side-by-side refrigerator leaking water on the floor?
The leak could be caused by a clogged defrost drain, damaged water lines, or a faulty door seal. It may also be due to a blocked drain pan or improper installation of the water filter.
Conclusion:
Fixing a leaking SMWF 0.5 water flow sensor is important for keeping your system running smoothly. Regularly check for worn seals, cracks, or clogs, and follow the proper repair steps to avoid bigger problems. Always use quality parts and be careful during repairs. If the leak continues or the sensor is severely damaged, it’s best to call a professional. Proper maintenance helps your sensor last longer and work better.
Read Also: